Dell

| Model / Part # | 048JWV |
| Condition | NEW |
| Location | shenzhen,China |


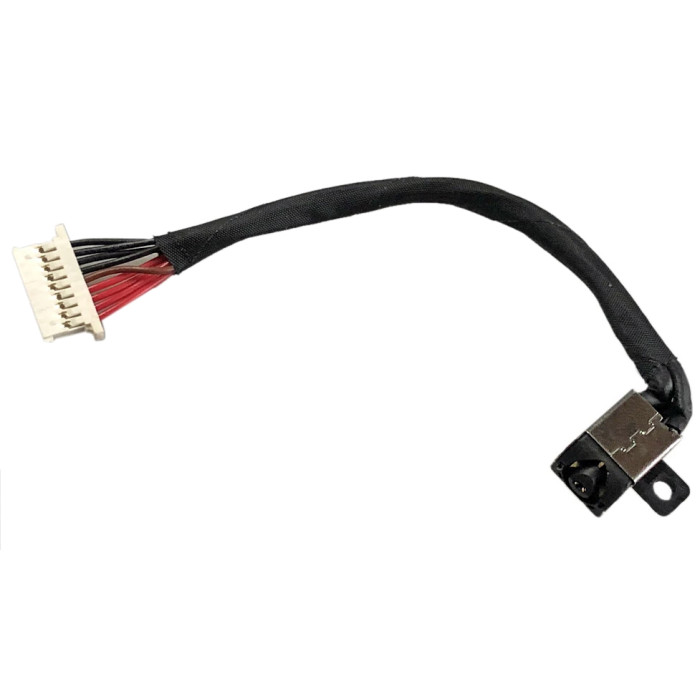
Dell Inspiron 15 7580 7590 7591 P83F P83F001 048JWV CN-048JWV DC Power Jack Charging Port Cable Socket Plug Connector 9cm (Model: 048JWV) is a replacement DC power jack (also called charging port or power connector) designed for laptop motherboards. This component connects the AC adapter to the laptop's power supply circuit. Choosing the correct DC jack is critical – even a 0.1mm difference in size or a 1V voltage mismatch can cause charging failure or motherboard damage.
Technical Specifications:
Critical Selection Factors – Check Before Ordering!
How to Identify Your DC Jack's Specifications:
Installation & Soldering Precautions:
Common Problems & Solutions:
Need help identifying or installing your DC jack? Send us clear photos of your original DC jack (showing the barrel size, pin layout, and any labels) – we'll confirm the exact specifications and compatibility. For custom orders or assistance, email us at email.
Every DC jack is inspected for pin continuity, voltage tolerance, mechanical fitment, and solder pad alignment. We verify that each unit meets OEM specifications and will provide a secure, reliable power connection.
